


Why cutouts make or break a tiling job
You can spend hours getting your tiles perfectly level and your grout lines dead straight, but one ragged cutout around a socket or pipe will draw the eye every time. In British homes, we have plenty of awkward obstacles: socket back boxes set slightly proud of the plaster, radiator pipes emerging at odd angles, and the occasional surprise tap or waste pipe. The good news is that with the right technique, you can achieve cutouts so neat they look factory-made. The secret is simple: measure twice, mark clearly, and use a diamond blade or tile file for the final fit. This guide walks you through the process step by step.
Essential tools for clean cuts
Before you touch a tile, gather your kit. You don't need a full workshop, but a few specific tools make all the difference.
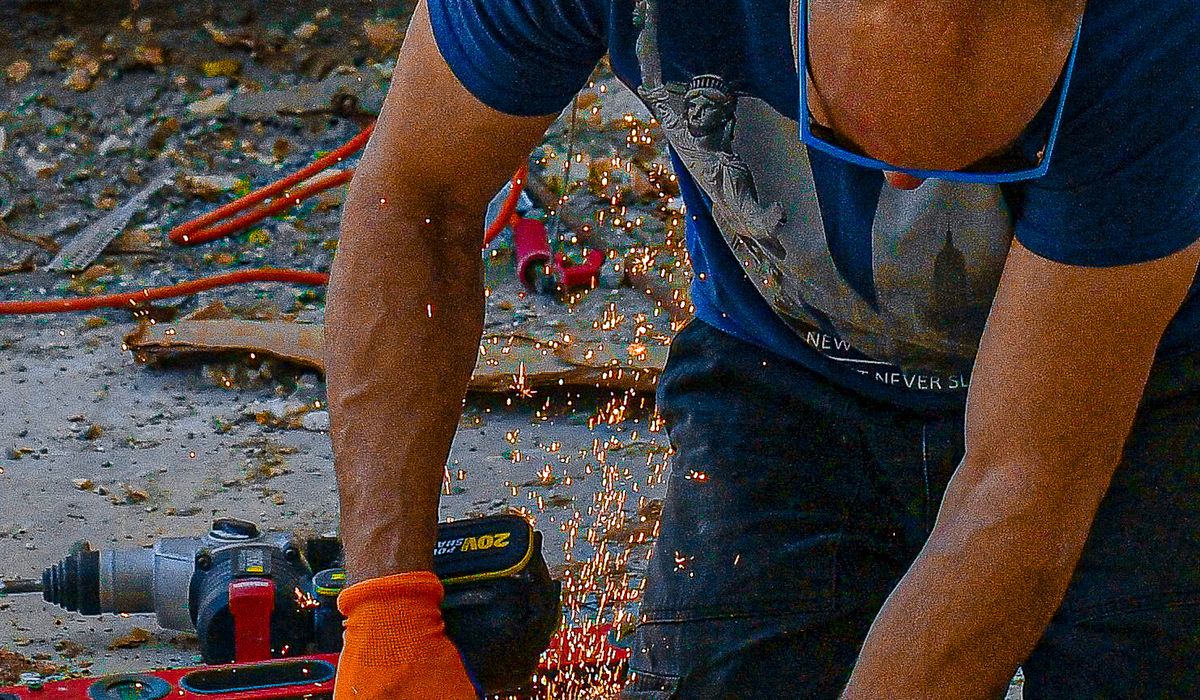
- Angle grinder with a continuous rim diamond blade – the workhorse for curved and straight cuts. A 115mm blade is ideal for most DIY jobs.
- Manual tile cutter – great for straight cuts, but not for cutouts. Use it for scoring and snapping the straight edges of your tile first.
- Diamond hole saw – for pipes and small circular holes. Sizes from 15mm to 50mm cover most radiator and tap pipes.
- Tile file or diamond hand pad – for smoothing rough edges and fine-tuning the cutout. This is what turns a rough hole into a professional finish.
- Tile nippers – useful for nibbling away small amounts of material, especially on ceramic tiles.
- Safety gear – goggles, dust mask, and ear defenders. Diamond blades create fine dust and high noise.
If you're cutting porcelain, which is much harder than ceramic, you'll need a good quality diamond blade and plenty of patience. For natural stone, check that your blade is suitable.
Measure twice, mark once – accurately
This is where most DIY tiling goes wrong. Don't guess, and don't rely on holding the tile up to the wall and squinting. Instead, use a simple template. Cut a piece of cardboard or thin plastic to the same size as your tile. Offer it up to the obstacle, then carefully cut away the cardboard until it fits perfectly around the socket or pipe. Once you have a snug fit, lay the template on your actual tile and trace around it with a pencil or fine marker. Remember to account for the thickness of your adhesive and grout – usually 3-6mm. If the socket faceplate will cover the cutout, you can be a little less precise, but for exposed pipes, you want a tight fit. Mark the front face of the tile, and use masking tape over the cut lines to reduce chipping.
Cutting around sockets and back boxes
Sockets are rectangular, which makes them easier than pipes in some ways. Start by removing the socket faceplate and unscrewing the back box slightly if it's proud. Measure the width and height of the back box, then add 2-3mm all round for clearance. Transfer this to your tile. Drill a small hole at each corner – this gives your blade a starting point and prevents the tile from cracking. Then use your angle grinder to cut straight lines between the holes. Work slowly, letting the blade do the cutting. For a cleaner finish, you can also use a tile saw with a diamond blade if you have one. After cutting, test the fit. If it's too tight, use a tile file to gently open up the opening. The faceplate will hide small imperfections, but you still want a neat job.
Cutting around pipes and awkward obstacles
Pipes are trickier because they're round. If the pipe is not yet fixed, remove it, tile the wall, then drill a hole through the tile using a diamond hole saw. That's the cleanest method. If the pipe is already in place – common with radiator pipes – you have two options. First, if you can isolate and drain the pipe, remove it temporarily. Second, if you can't, you'll need to cut a slot from the edge of the tile to the hole. Mark the centre of the pipe on your tile, then drill a hole slightly larger than the pipe. Next, use your angle grinder to cut a straight slot from the nearest tile edge to that hole. Slide the tile into place around the pipe. Once the tile is fixed, you can fill the slot with colour-matched silicone or grout. For a really neat finish, use a diamond file to smooth the edges of the slot.
Finishing, fitting and sealing
Once your cutout is made, dry-fit the tile before you apply adhesive. Check that the tile sits flat and that the socket or pipe passes through cleanly. If it doesn't, refine the cut with your tile file. When you're happy, apply your adhesive and press the tile into place. For sockets, screw the faceplate back on – the screws should align with the back box. For pipes, you can use a pipe collar (escutcheon) to hide any small gaps. Finally, seal around the pipe or socket with a thin bead of silicone, but only if it's in a wet area like a kitchen or bathroom. In dry areas, grout is fine. Remember, the key is patience. A few extra minutes with a tile file will make your work look professional.


Leave a reply