


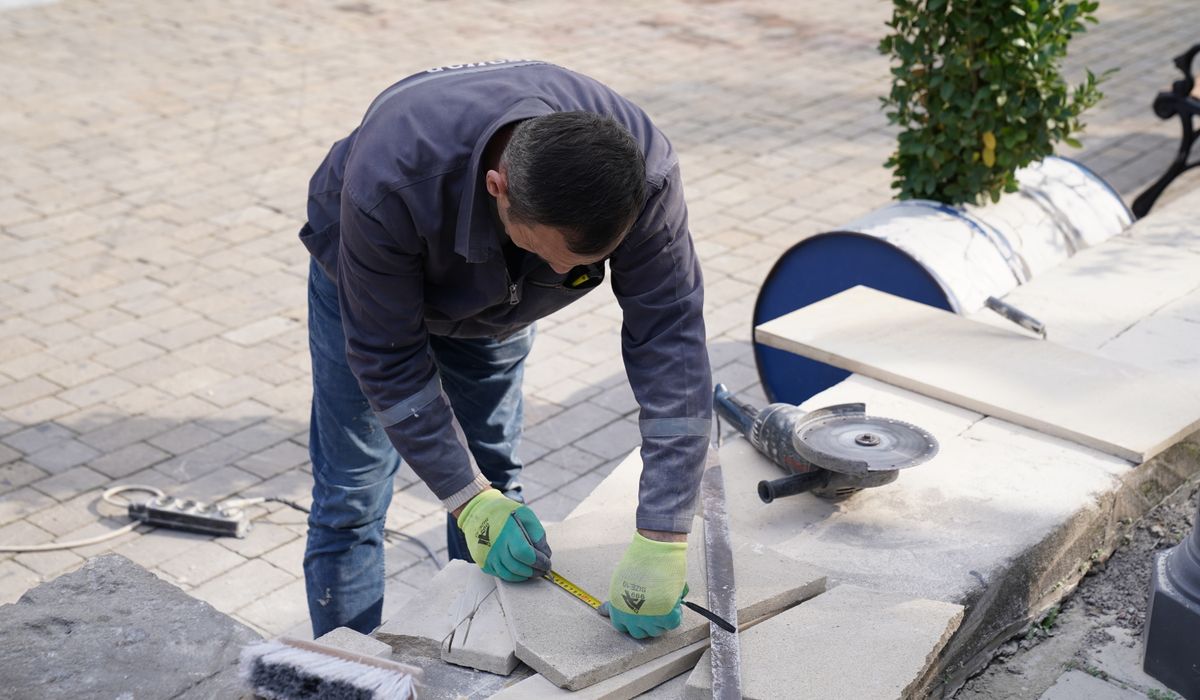
Concrete floors are common in British homes, from Victorian basements to modern extensions and garages. They are solid, stable and long-lasting, but they are not automatically ready to receive tiles. Dust, cracks and subtle level changes can all undermine the bond between adhesive and concrete, leading to hollow tiles, cracked grout and costly repairs. The good news is that with a methodical approach, you can prepare almost any concrete floor to a professional standard.
Why Concrete Floors Need Proper Preparation
Concrete is porous and alkaline, and it often carries a fine layer of dust or laitance on its surface. Tile adhesive needs a clean, sound and slightly absorbent substrate to grip properly. If you tile straight onto a dusty or sealed floor, the adhesive may stick to the dust rather than the concrete, and the whole installation can fail. Concrete also moves slightly with changes in temperature and moisture, which is why cracks appear and why flexible preparation matters. Taking the time to assess and treat the surface is not optional—it is the foundation of a durable tiled floor.
Checking for Dust, Cracks and Level Changes
Before you do anything else, inspect the floor carefully. A few simple checks will tell you what you are dealing with.
- Dust: Rub a dark cloth or a damp sponge across the surface. If it comes away grey or gritty, there is dust or loose material that must be removed.
- Cracks: Note the width and direction of any cracks. Hairline cracks are usually harmless, but wider cracks or those that run across the room may indicate movement that needs a flexible repair.
- Level changes: Use a 2-metre straightedge and a spirit level in several directions. Anything more than 3mm out of level over that length will need attention before tiling.
Also look for oil, paint, plaster or old adhesive residues. These can prevent a reliable bond and must be removed or sealed over with the correct primer.
Cleaning and Repairing the Concrete
Start by removing all dust and loose material. A vacuum cleaner with a fine filter is ideal, followed by a wipe with a damp sponge. If there are greasy patches, scrub them with a sugar soap solution or a dedicated degreaser, then rinse and allow the floor to dry completely.
For cracks, vacuum out any debris, then fill with a flexible epoxy or a cement-based repair mortar. For larger areas of damage or a weak, dusty top layer (known as laitance), you may need to grind the surface back to sound concrete. Always wear appropriate dust protection when grinding.
- Small cracks: fill with a flexible filler and smooth flush with the surface.
- Wide cracks: open them slightly, prime, then fill with a repair mortar.
- Laitance or contamination: grind or scarify, then vacuum thoroughly.
Levelling Uneven Concrete
If your straightedge shows dips or humps greater than 3mm over 2 metres, you will need to level the floor. Self-levelling compound is the usual choice in British homes. First, prime the concrete as directed by the compound manufacturer—this stops the water in the mix being drawn out too quickly. Mix the compound precisely with a paddle mixer, pour it onto the floor and spread it with a trowel or squeegee. It will find its own level, but you can help it along with a spiked roller to remove air bubbles. Allow it to cure fully before tiling.
For very small imperfections, a patching compound may be enough. Never try to fill deep dips with tile adhesive itself; it will shrink and crack.
Priming the Surface for a Reliable Bond
Priming is the step that many DIY tilers skip, and it is the one that most often causes failures. A primer seals dusty concrete, regulates how quickly the surface absorbs water from the adhesive, and creates a key for the adhesive to grip. Choose a primer that is compatible with your chosen adhesive—acrylic primers are common for porous concrete, while epoxy primers suit denser or damp surfaces.
Dilute the primer according to the instructions, then apply it with a roller or a soft brush. One or two coats are usually enough. Allow it to dry until it is tacky, but not wet—if you touch it, it should feel slightly sticky. Do not let it pool in low spots. Once primed, you should tile within the recommended window, usually the same day. This simple step transforms a dusty, unpredictable floor into a stable surface that will hold your tiles securely for years to come.


Leave a reply