


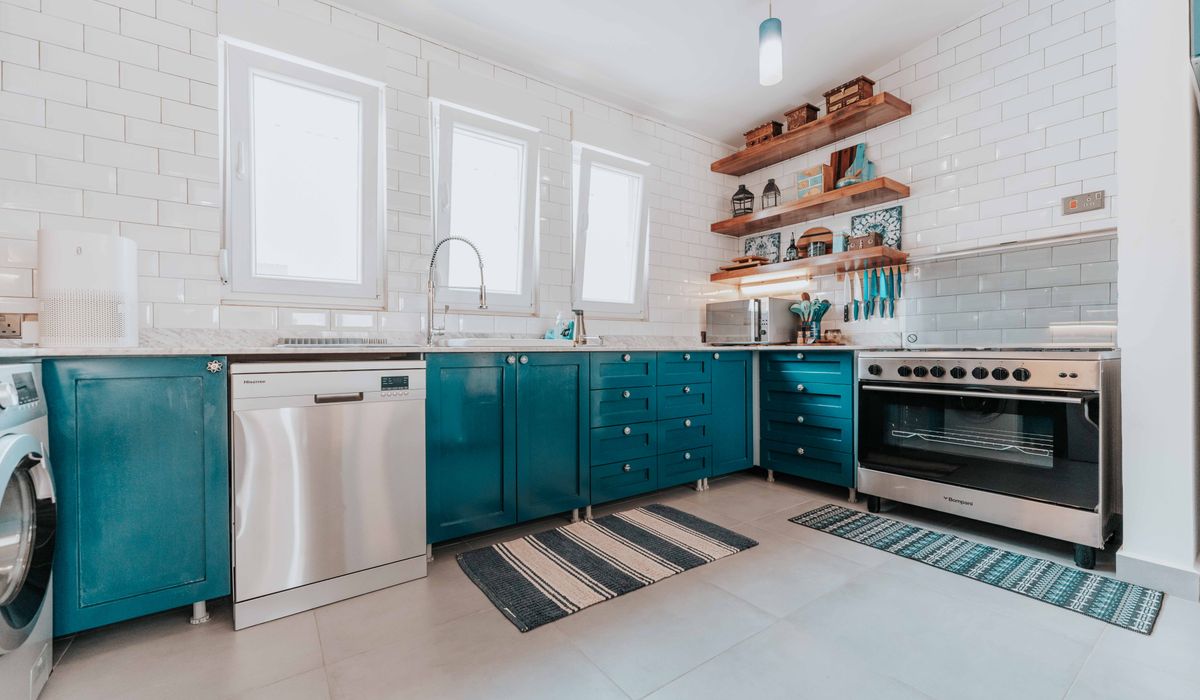
Why the Right Kit Matters in a British Home
Anyone who has tiled a bathroom in a Victorian terrace knows the truth: very few walls in this country are flat, plumb and square all at once. A 1930s semi may have solid brickwork that pulls the moisture out of your adhesive before you have laid a single tile, while a modern stud partition will flex just enough to make large-format porcelain a genuine headache. Good tools do not just make the job look neater — they give you a way of correcting the surface as you go, rather than fighting it.
You do not need a van full of equipment. A handful of well-chosen items will carry you through a kitchen splashback, a bathroom or a hallway floor. Here is what is genuinely worth owning or hiring before you open a bag of adhesive.
The Notched Trowel Does the Real Work
If you buy only one tool, make it a notched trowel. The depth and shape of the notches decide how much adhesive actually reaches the back of the tile, and that is what keeps tiles on the wall for the next thirty years rather than the next thirty months.
- 6 mm round-notched for standard ceramic wall tiles, roughly 200 x 250 mm and under.
- 8–10 mm round-notched for larger wall tiles and most floor tiles.
- 10–12 mm square-notched for floor tiles over concrete or backer board.
- 15–20 mm square-notched for large-format porcelain and natural stone, especially over an uneven subfloor.
Round notches suit walls because they collapse into a flatter bed when you press the tile home; square notches hold taller ridges and give you more depth to play with on floors. Whatever you choose, comb the adhesive in one direction and check the coverage by lifting a tile every so often. You are aiming for at least 90 per cent contact on walls and full contact on floors. A small margin trowel is invaluable for back-buttering — spreading a thin, flat skim on the tile itself before it goes on the wall, which is how you deal with a particularly wonky patch of plaster.
Cutting Tools: Manual First, Wet Cutter Where Porcelain Is Involved
For ceramic tiles up to around 600 mm, a decent manual tile cutter with a carbide scoring wheel is faster and cleaner than anything else. Set the tile against the back stops, score once with firm, even pressure — drawing back over the line a second time only chips the wheel — then bring the breaker arm down. Practise on an offcut before you attack a full box.
Porcelain is a different animal. It is denser, harder and unforgiving, and most DIY manual cutters tire quickly on it. If porcelain floors or walls are on the cards, hire a wet tile cutter with a diamond blade for the day. It is slower, wetter and noisier, but the cut edges are square and chipping is minimal. Add a pair of tile nippers for curves and awkward notches around sockets, a diamond hole saw for pipework, and a rubbing stone or diamond file to take the sharpness off cut edges so grout does not snag.
Levels, Spacers and Levelling Systems
A spirit level is the tool that decides whether the room looks professional or slightly drunk. A 600 mm level covers most wall work, a 1200 mm one is right for floors, and a small torpedo level fits into corners and window reveals. Check any new level against itself by flipping it end for end on a flat surface — if the bubble reads the same both ways, it is trustworthy. A clamp-on laser level is a genuine luxury for setting a datum line around a whole bathroom and costs far less than it once did.
For spacing, use 2 mm spacers on walls and 3 mm on floors as a starting point, widening for rustic or hand-made tiles with irregular edges. Tile levelling clips and wedges are the other quiet hero here: they pull neighbouring tiles flush with each other and all but eliminate lippage, which is that irritating step where one tile sits proud of the next. On large-format tiles, they are close to essential.
Grouting, Silicone and the Finishing Kit
A grout float with a firm rubber face is the only sensible way to push grout into joints. Hold it at roughly 45 degrees and work diagonally across the joints, then scrape the excess off before it sets. Follow with a well-wrung sponge and two buckets of water — one for rinsing, one for clean — changing the water often. A grout finishing tool or profiling stick gives you a consistent joint depth and saves your fingers.
In corners, and wherever tiles meet a bath, shower tray or worktop, use silicone sealant rather than grout. Grout is rigid and will crack as the building moves; a sanitary-grade silicone accommodates that movement and stays watertight.
Safety Kit and the Small Things You Will Reach For
Tile work is hard on the body and the eyes, so knee pads, safety glasses and a dust mask for cutting are not optional extras. Add a bucket and mixing paddle for adhesive, disposable gloves, a soft pencil and a tile marker, plus plenty of old sheets or plastic sheeting. Keep a damp cloth to hand throughout — dried adhesive is far harder to remove than fresh. Buy these few things properly and the tiling will be straighter, safer and considerably less stressful.


Leave a reply